20+
Hours of Instruction
9+
Hours of DIM
30
Combined hours
Live
Office Hours Included
WHY THIS PROGRAM EXISTS
Why Do Some Students Still Need Part IV With Diagnostic Imaging?
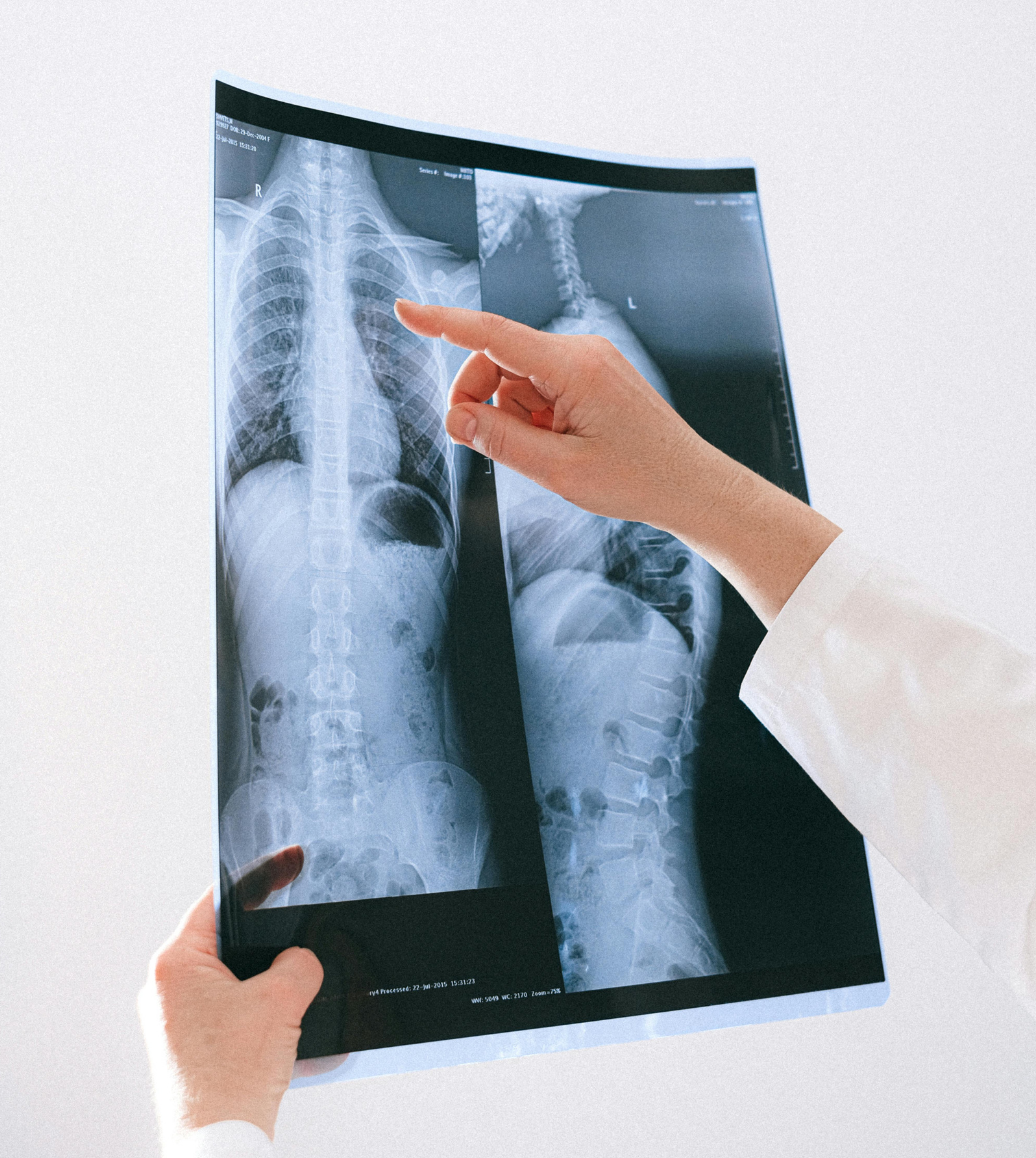
In 2021, NBCE moved the Diagnostic Imaging component from Part IV to Part III.
Students who completed Part III after that transition receive their Diagnostic Imaging testing as part of Part III.
But if you completed Part III before that change, you may still need to complete the Diagnostic Imaging component along with Part IV.
That puts you in a unique testing situation.
You don't just need a current Part IV review.
And you don't just need an X-ray course.
You need both.
Two Major Components.
One Comprehensive Review.
I didn't create a shortened version of either program.
Your Part IV with DIM Review combines the instruction students receive in my comprehensive Part IV program with the Diagnostic Imaging and X-ray instruction included in my Part III program.
Complete Part IV Preparation
- Case History
- Orthopedic Examination
- Neurological Examination
- Physical Examination
- Clinical Reasoning
- Putting It Together Case Examples
- Report of Findings
- SOAP Notes
- Chiropractic Listings
- Technique Setups
- Required Technique Verbal Components
- Supporting Procedure & Technique Videos
Comprehensive Diagnostic Imaging Preparation
- Nearly 9 additional hours of X-ray & DIM instruction
- Imaging concepts
- Regional findings
- Clinical interpretation
- Image recognition
- Testing strategies
You aren't piecing together two different study resources. I've already put the material together for you.
Part IV Preparation That Teaches You the Entire Patient Encounter
The Part IV portion of this program isn't simply a collection of orthopedic tests and adjustment setups. I teach you how to organize the entire patient encounter. That starts with the case history. From there, we use the history to determine what comes next.
The goal is not to memorize isolated procedures. It's to know how to put the pieces together.
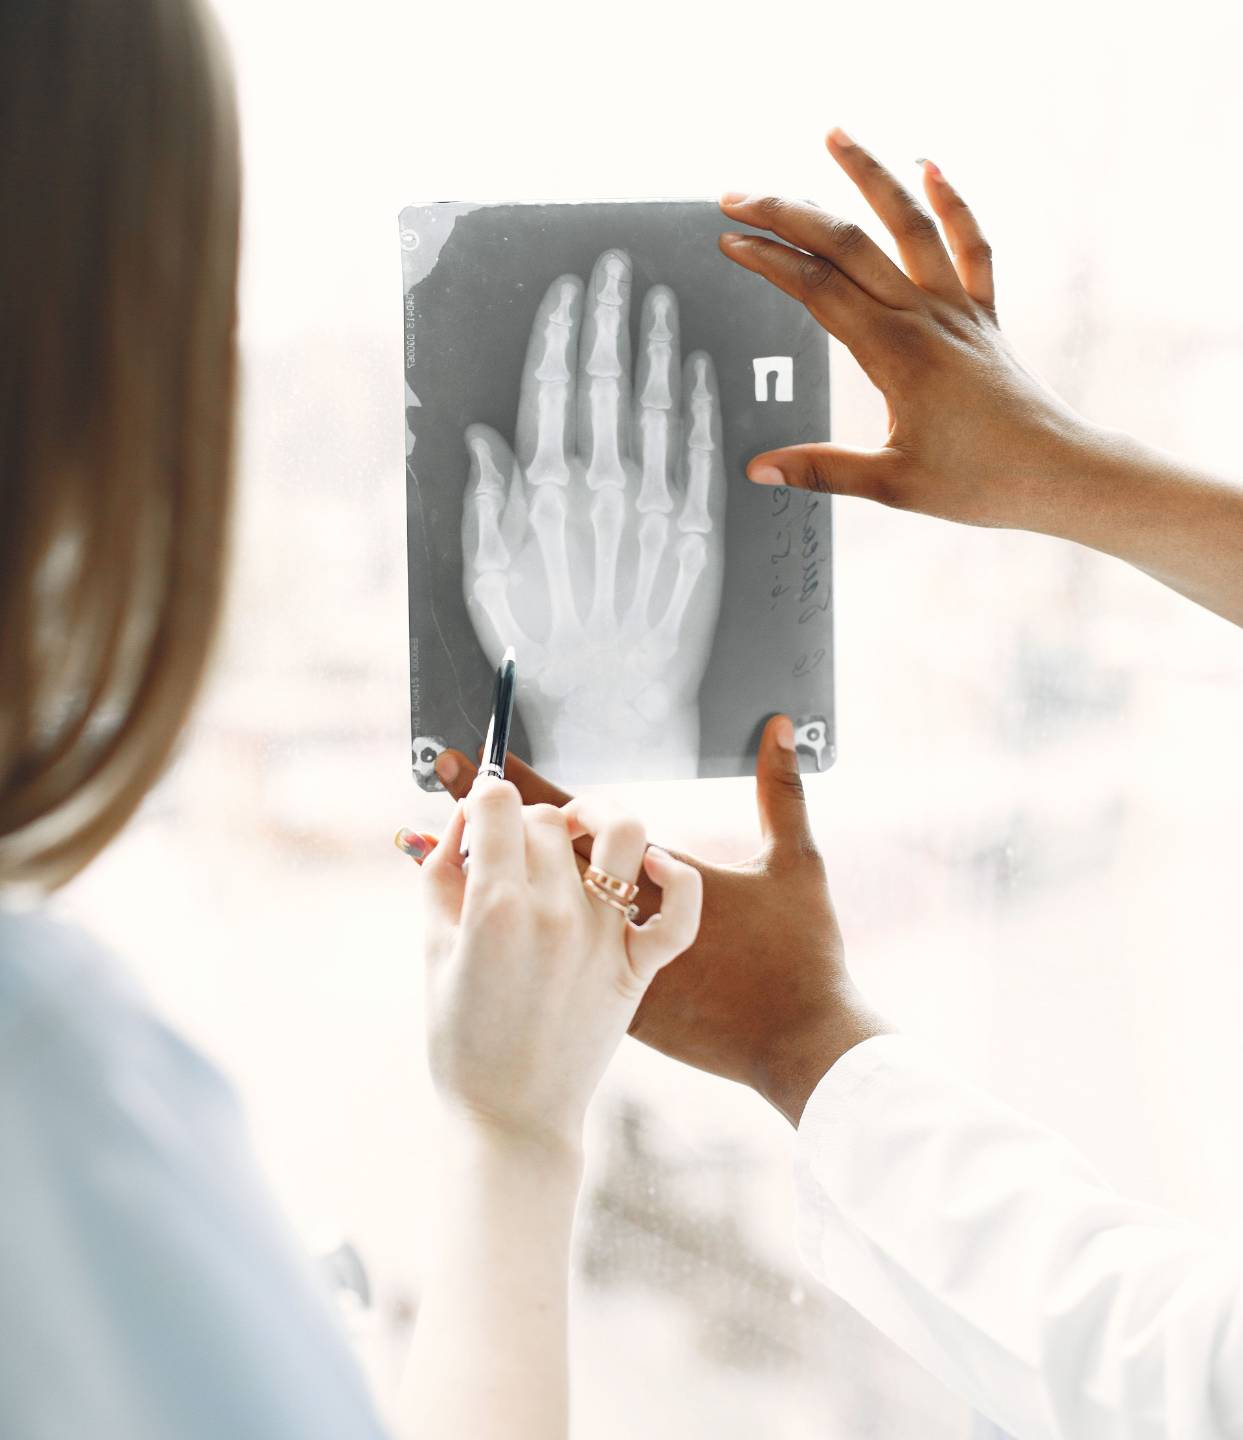
WALK INTO THE ROOM WITH A PLAN
Learn the Case History Before You Walk Into the Room
You shouldn't walk into a Part IV case trying to invent your history questions while the clock is running.
I give you a structured case history script that you can practice before test day.
You'll learn how to gather the important information, stay organized, and use the patient's responses to begin determining which examinations are appropriate. The script gives you a framework. The clinical reasoning tells you what to do with the information you collect.
Orthopedic, Neurological, and Physical Exams Organized the Way You'll Need Them
I organize the examination material around body regions, clinical presentations, and conditions.
Why? Because that's how you're going to need to retrieve the information when you're given a patient presentation.
You'll work through the appropriate:
The PowerPoint instruction is also supported by video demonstrations, allowing you to actually see the relevant examination procedures performed.
You don't just need to remember the name of an orthopedic test.
You need to know when to choose it, how to perform it, and where it belongs in your examination.
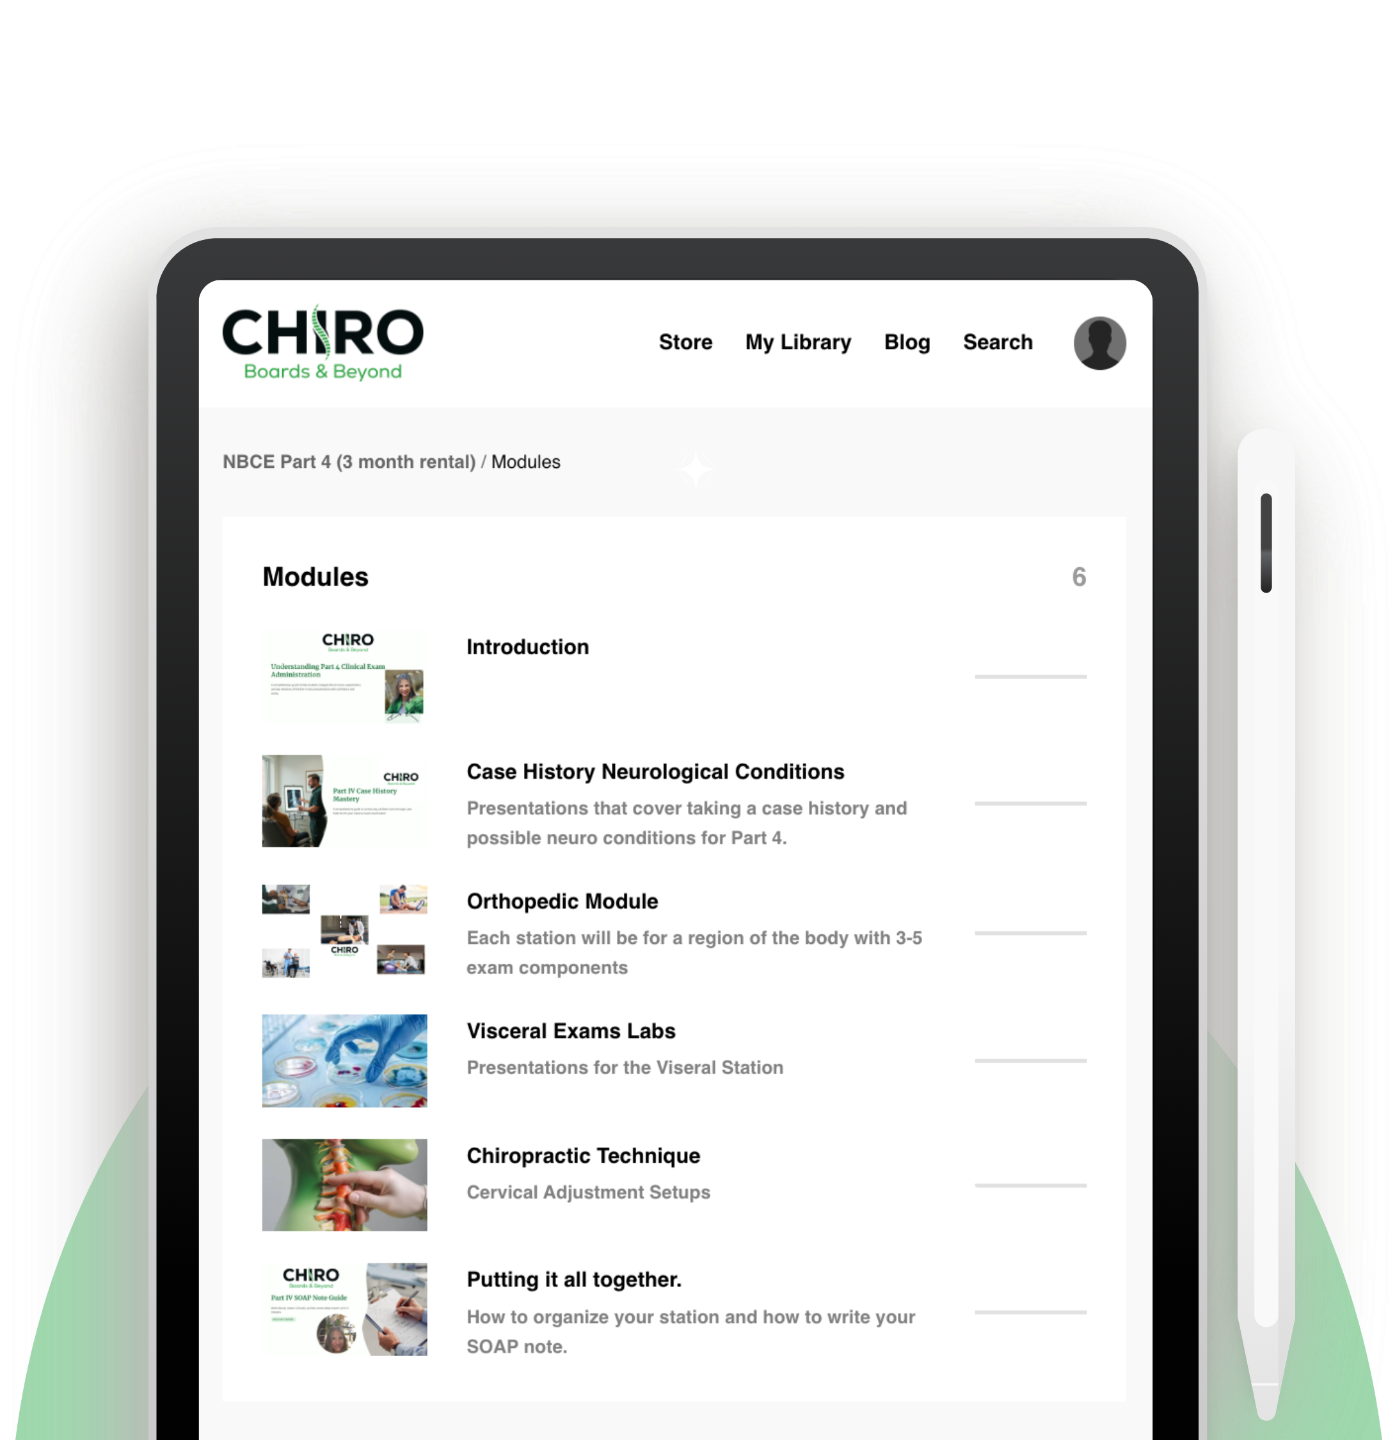
Then We Put It Together
This Is Where the Pieces Become a Patient Encounter.
Throughout the Part IV program, I include dedicated "Putting It Together" instruction. I give you a sample case history and then walk you through how to organize the examination based on what that patient told you.
SAMPLE CASE HISTORY:
I give you a sample case history and then walk you through how to organize the examination based on what that patient told you.
We answer questions such as:
Instead of teaching you individual procedures and expecting you to figure out how to assemble them on test day, I show you how they fit together.
Know the pieces. Then practice the sequence.
Detailed SOAP Note Preparation
After your patient encounter, you need to document what happened. Your program includes detailed instruction on the requirements of your Part IV SOAP note and how the information from the encounter carries into your documentation.
We'll organize:

Subjective

Objective

Assessment

Plan
Your SOAP note shouldn't feel like a completely different test.
It should reflect the history, examination findings, and clinical reasoning you just worked through.
Technique, From Reading the Listing to Performing the Setup
The technique portion of this program goes far beyond showing you a picture of an adjustment.
I break down how to read the listing system, determine what the listing is telling you, identify the appropriate side of patient contact, and organize the setup.
You'll review:
- Patient position
- Doctor position
- Patient contact point
- Doctor contact point
- Side of contact
- Stabilization
- Tissue slack
- Line of drive
- Thrust or no-thrust callout
Know What You Need to Say During Your Technique Setups
I give you scripts and verbal frameworks so you can practice saying the required components as you're performing the setup — rather than getting to the end and realizing you forgot to call something out. The goal is to make the verbal components part of your setup sequence.
See it. Practice it. Say it. Repeat it.
WHAT YOU DEMONSTRATE
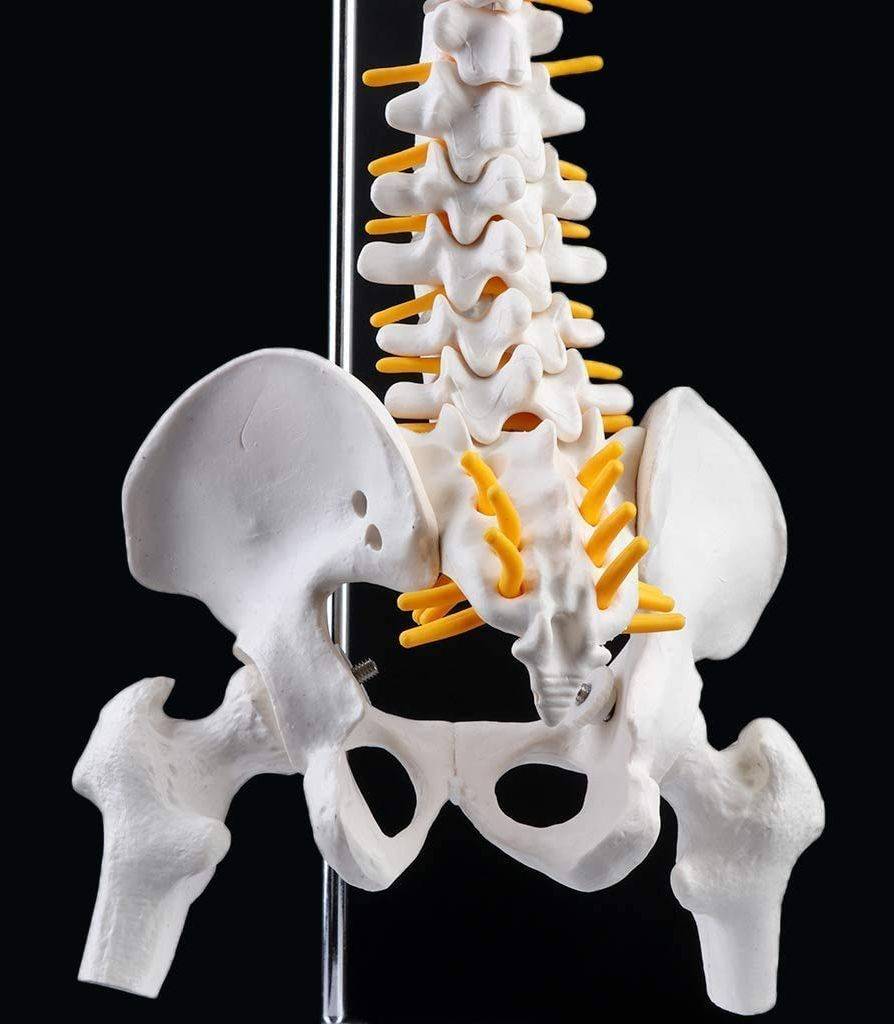
The physical setup
Position, contact, stabilization, line of drive.
WHAT YOU SAY
The required verbal components
Scripts & frameworks so you never forget a callout.
Then We Add the Diagnostic Imaging You Still Need
This is what makes this program different from the standard Part IV Review.
In addition to all of the Part IV instruction, you receive nearly 9 additional hours of focused X-ray and Diagnostic Imaging instruction.
This is the same comprehensive imaging instruction used to prepare students for the Diagnostic Imaging material now tested with Part III.
The goal is not simply to memorize another collection of radiographic signs.
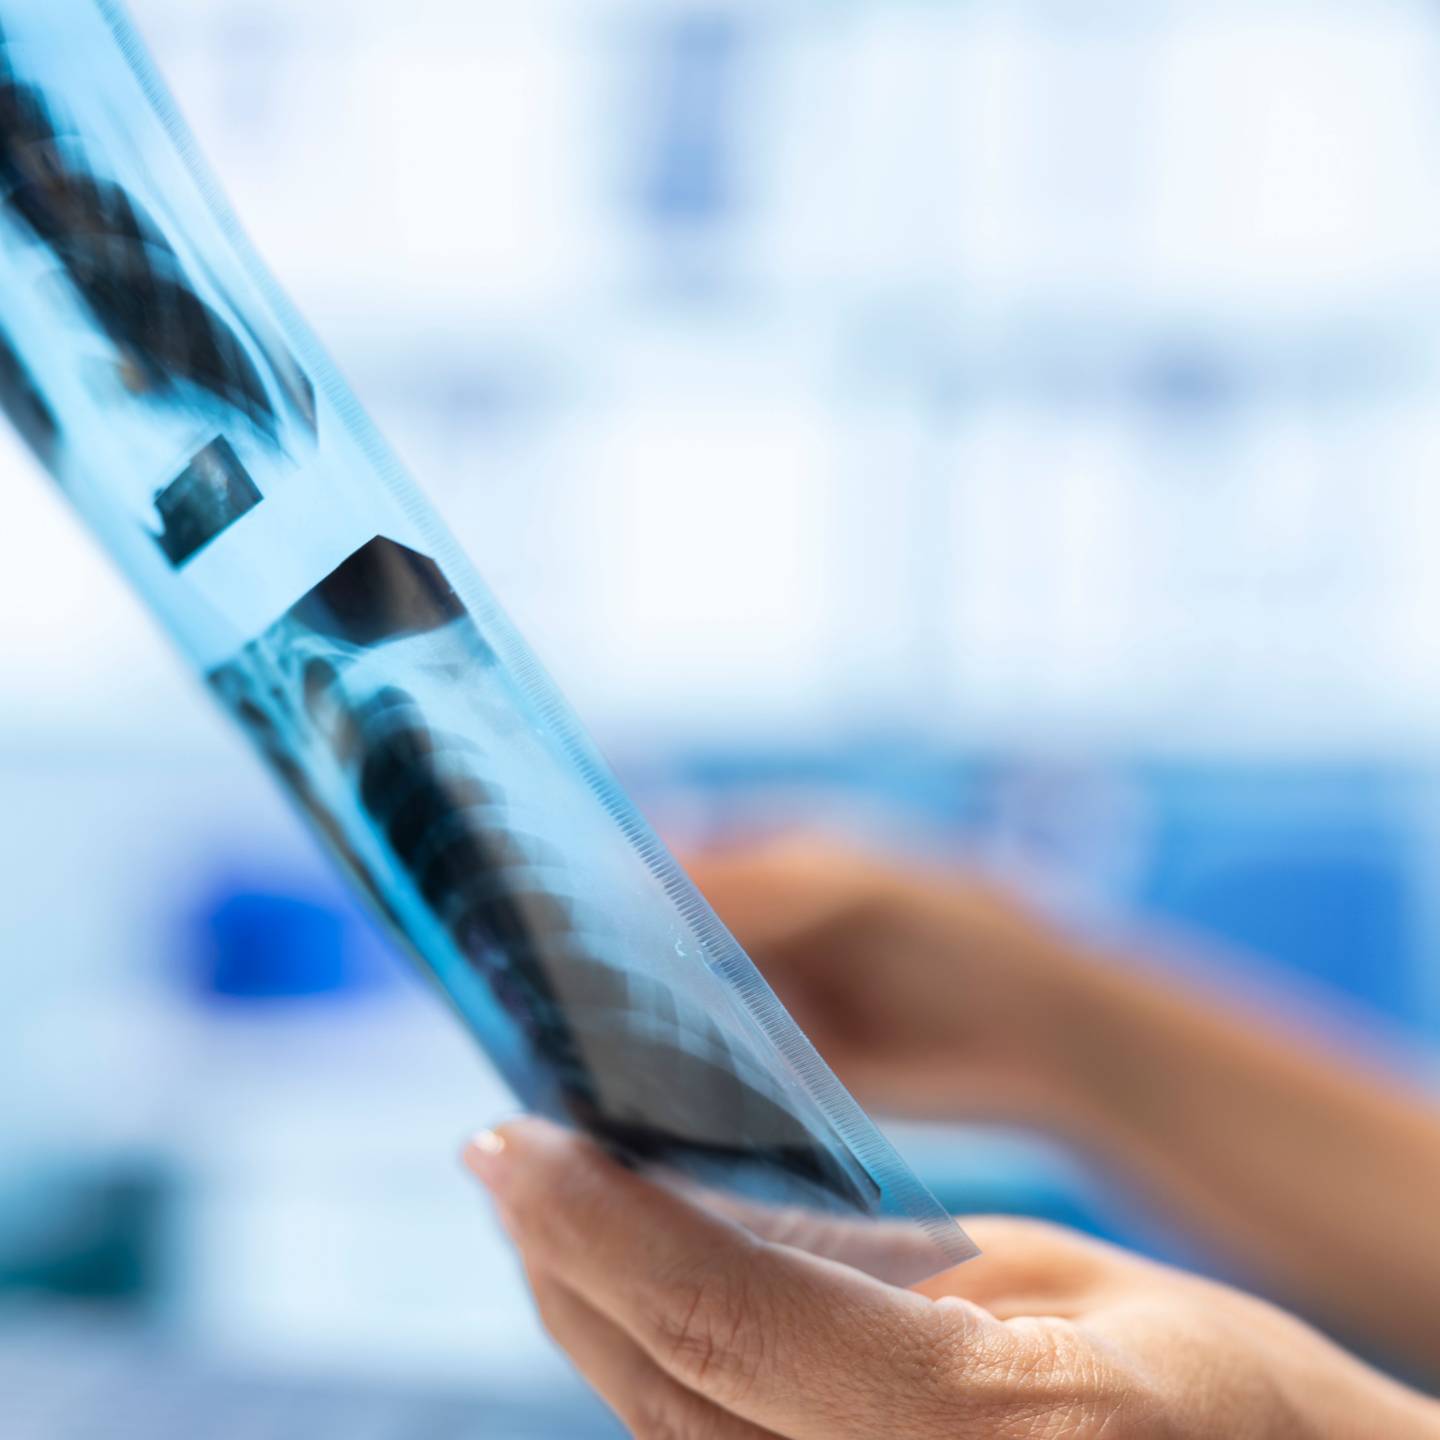
Learn to Read the Image,
Not Just Memorize the Diagnosis
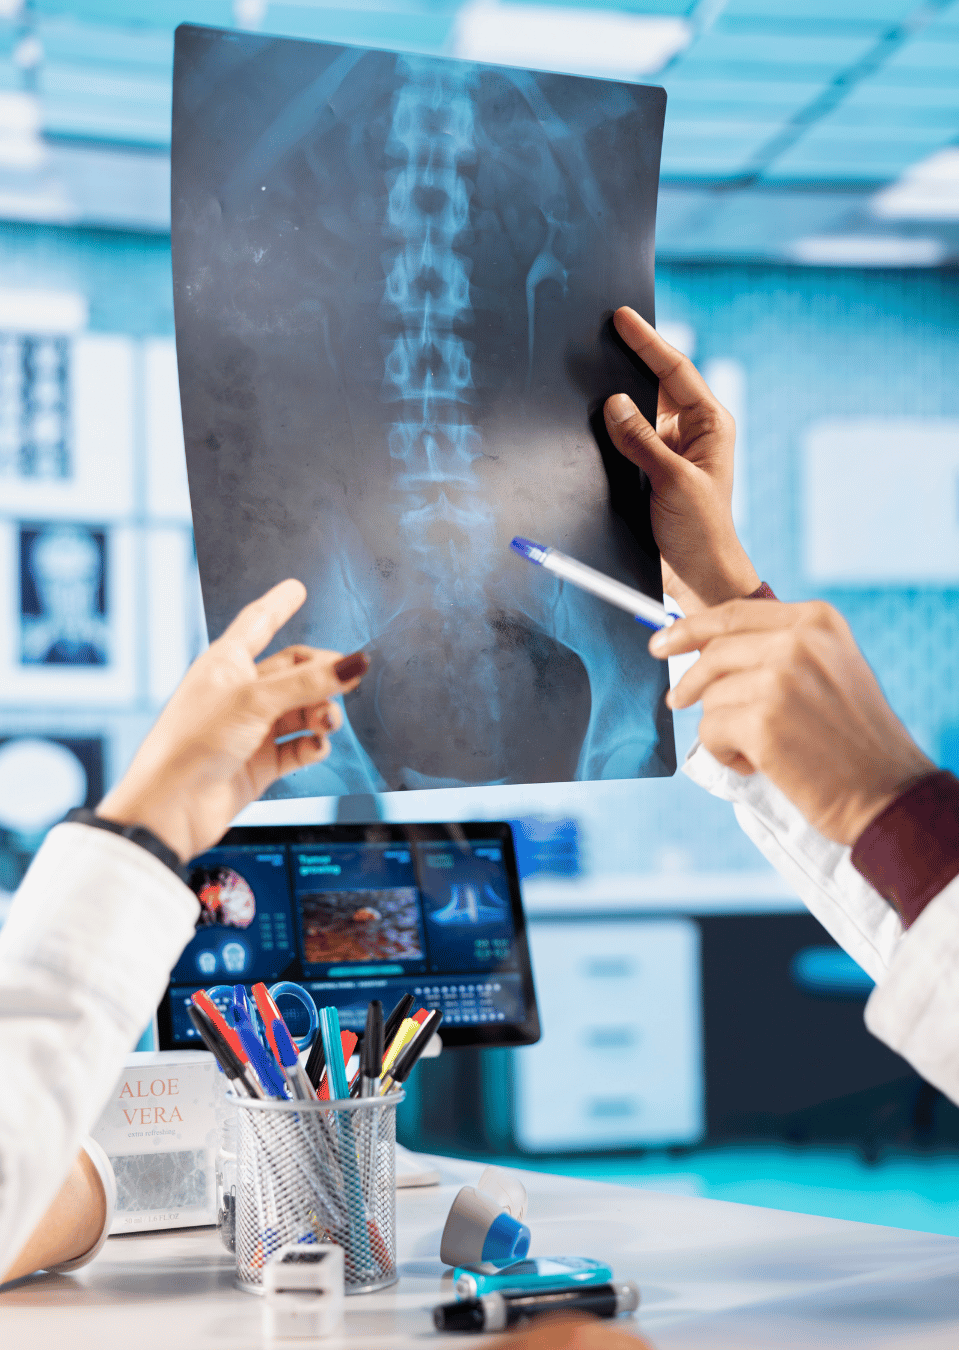
When you're looking at an image under testing pressure, you need a systematic way to process what you're seeing.
Throughout the Diagnostic Imaging lectures, we work through the major regions and imaging concepts while asking:
This is about developing image recognition and pattern recognition, not simply memorizing lists.
KNOWING THE DIAGNOSIS ISN'T ALWAYS ENOUGH
Learn the Common X-Ray Questions and the Traps Hidden in the Answers.
You also need to understand what the question is asking you about the image. Throughout the Diagnostic Imaging instruction, I emphasize commonly tested concepts and show you how small details in the question can change the answer.
We look at:
Common imaging presentations
Frequently tested radiographic findings
Conditions with similar appearances
Important differentiating features
Plausible distractors
Common multiple-choice traps
And most importantly:
Answer the question they actually asked.
Don't allow an answer that sounds familiar to pull you away from what the image and the question are actually telling you.
Almost 30 Hours of Combined Part IV and Diagnostic Imaging Instruction
This isn't a standard Part IV review with a few X-ray slides added at the end.
You're receiving two comprehensive areas of preparation combined into one program.
PART 1
Approximately 20 Hours of Part IV Instruction
Case history
Examination procedures
Orthopedics
Neurology
Physical examination
Putting It Together cases
Report of findings
SOAP notes
Chiropractic technique
Listings
Verbal components
Supporting videos
PART TWO
Nearly 9 Additional Hours of Diagnostic Imaging Instruction
Regional X-ray review
Imaging interpretation
Common radiographic presentations
Pattern recognition
Clinical correlations
Commonly tested concepts
Practice questions
One program built specifically for the student who still needs BOTH.
Start Studying TodayOn-Demand Doesn't Mean On Your Own
You aren't purchasing almost 30 hours of instruction and then being expected to figure everything else out by yourself. Your enrollment also includes access to scheduled live online Office Hours with Dr. Jo.
Bring questions from either side of the program.
- Have a Part IV case question? Ask me.
- Unsure which orthopedic examination you would select? Let's work through it.
- Confused about a technique listing? Bring it.
- Have a question about your SOAP note? Ask.
- Can't differentiate two similar X-ray findings? Let's look at what separates them.
Office Hours allow you to combine the flexibility of independent, on-demand learning with opportunities for live instructor support and clarification.
Learn on your schedule. Get live support when you need it.
OFFICE HOURS ROTATION
| Week 1 | Wednesday mornings |
| Week 2 | Wednesday evenings |
| Week 3 | Saturday afternoons |
| Week 4 | Rotation repeats |
Office Hours are offered at scheduled times and may rotate to accommodate students in different time zones.
THE BIGGER PICTURE
Built Specifically for the Student Caught Between Two Testing Formats
You took Part III under the previous testing structure. Now you're completing Part IV after Diagnostic Imaging has moved. That can make your preparation feel confusing.
It doesn't have to be.
You don't need to piece together an old Part IV course, a current Part IV course, and random X-ray resources. I've already organized the material you need into one comprehensive program. You get the complete Part IV preparation. You get the Diagnostic Imaging preparation. And you get a structured path through both.
What You Get With Your
Part IV With Diagnostic Imaging
01
Approximately 20 hours of comprehensive Part IV instruction
02
Nearly 9 additional hours of Diagnostic Imaging and X-ray instruction
03
Detailed case history instruction and script
04
Orthopedic examination organized by region and condition
05
Neurological examination instruction
06
Physical examination procedures
07
Supporting video demonstrations
08
Dedicated Putting It Together case examples
09
Examination organization and sequencing
10
Report of findings guidance
11
Detailed SOAP note instruction
12
Chiropractic listing interpretation
13
Guidance for determining the appropriate side of contact
14
Comprehensive chiropractic technique setups
15
Supporting technique demonstration videos
16
Scripts for the required technique verbal components
17
Comprehensive regional X-ray review
18
Diagnostic Imaging interpretation
19
Common radiographic patterns and presentations
20
Commonly tested imaging concepts
21
Multiple-choice question strategies and common distractors
22
Diagnostic Imaging practice questions and examples
23
Detailed supporting PDFs
24
The ability to pause, rewind, and rewatch
25
Scheduled live online Office Hours with Dr. Jo
26
More than 20 years of chiropractic board-review teaching experience
27
Option to add private 1:1 tutoring
WANT MORE INDIVIDUALIZED SUPPORT?
Add 1:1 tutoring with Dr. Jo
With private tutoring, we can focus on whichever portion of your preparation needs the most attention.
We can run through sample Part IV cases.
Or we can focus on Diagnostic Imaging, work through X-ray examples, identify patterns, and practice interpreting what the question is actually asking.
The recorded program gives you the comprehensive foundation.
Tutoring allows us to focus specifically on YOU.
Frequently Asked Question
Why do I need Part IV with Diagnostic Imaging?
What's the difference between the regular Part IV Review and Part IV with DIM?
Is the Part IV material shortened because X-ray is included?
Does the course include X-ray practice?
Does the program include examination and technique videos?
Can I rewatch everything?
What happens if I have questions?
What if I'm not sure whether I need regular Part IV or Part IV with DIM?
You Have a Unique Part IV Requirement.
Your Review Should Be Built for It.
You don't need to build your own study program from pieces of different courses. I've already done that for you.
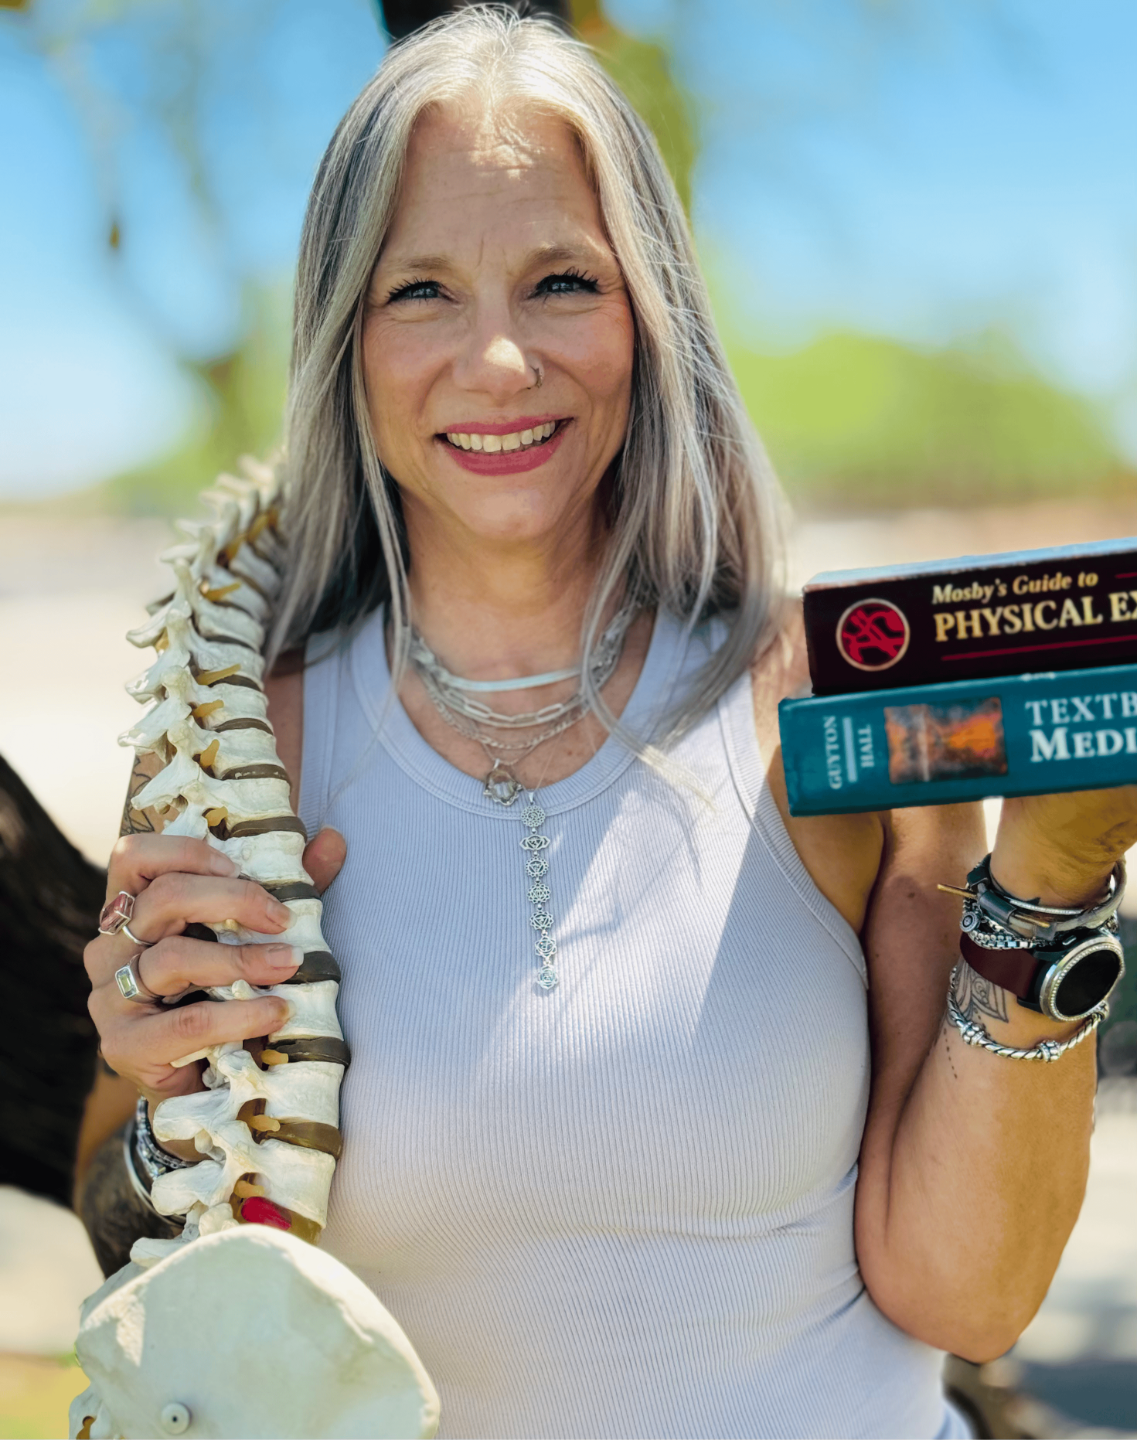
All backed by more than 20 years of chiropractic board-review teaching experience.
Prepare for the Part IV you still need to take, including the Diagnostic Imaging you still need to complete.
Not sure where to start? That's what the free consult is for.